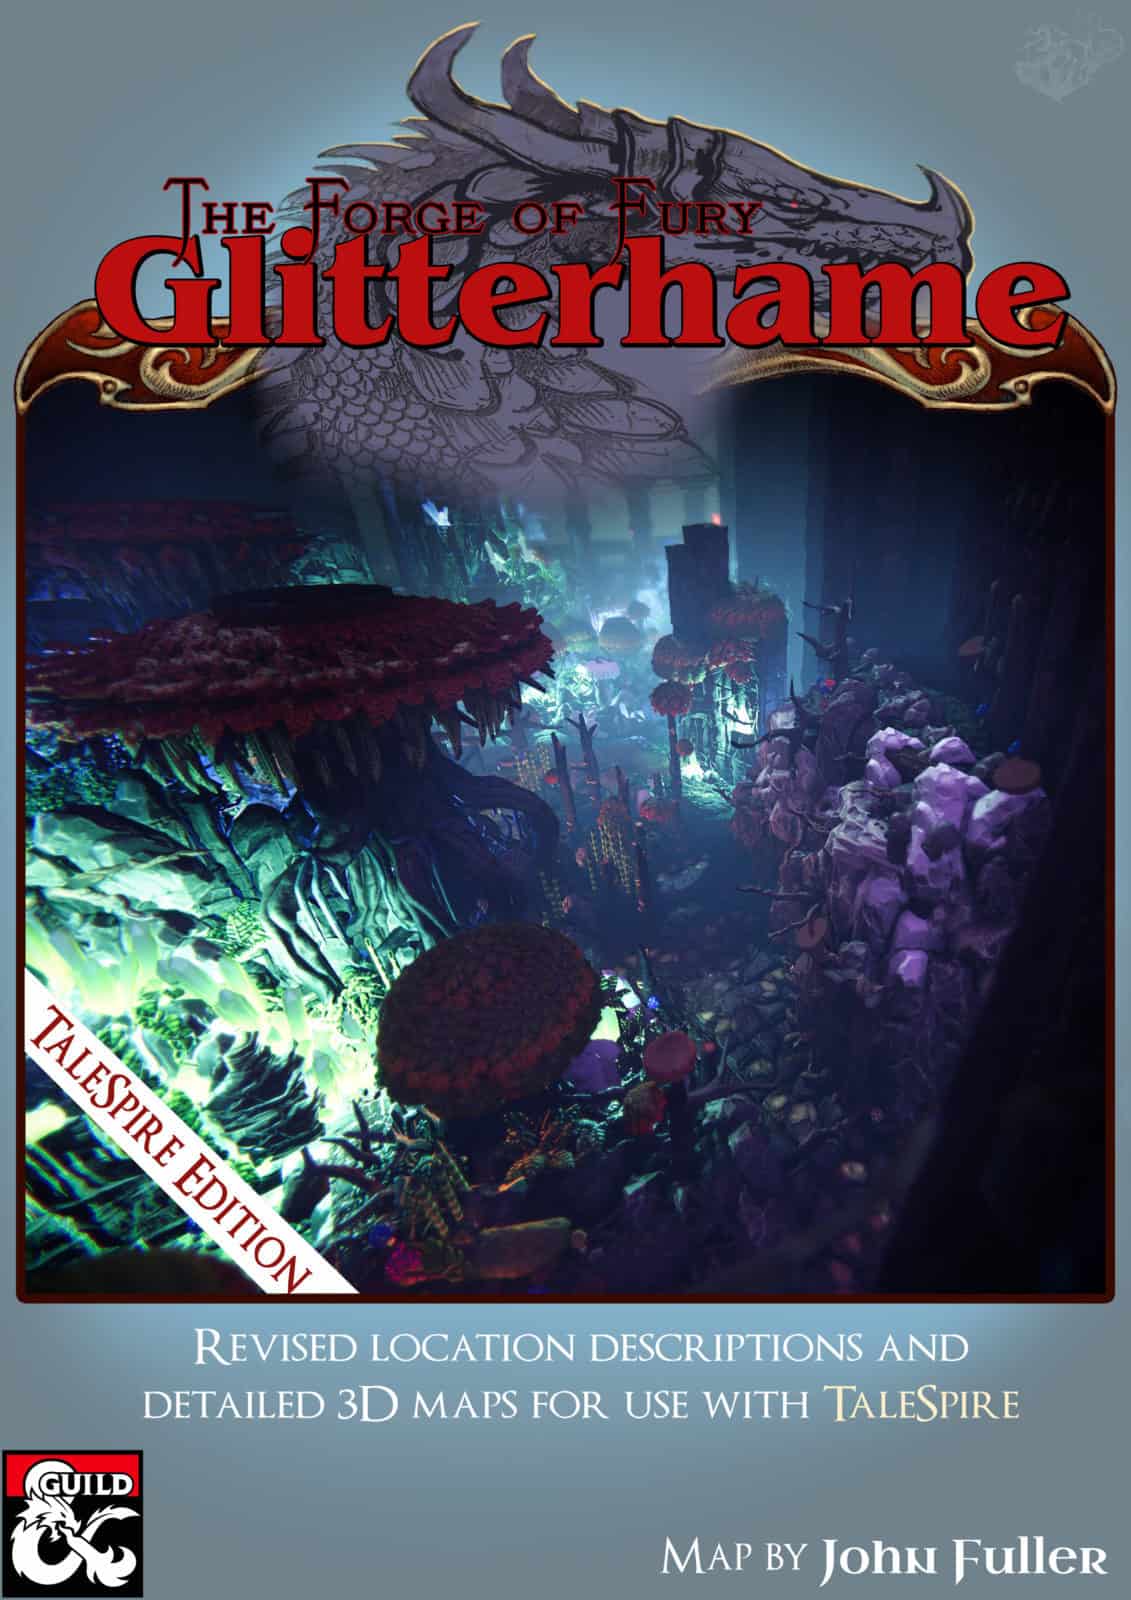
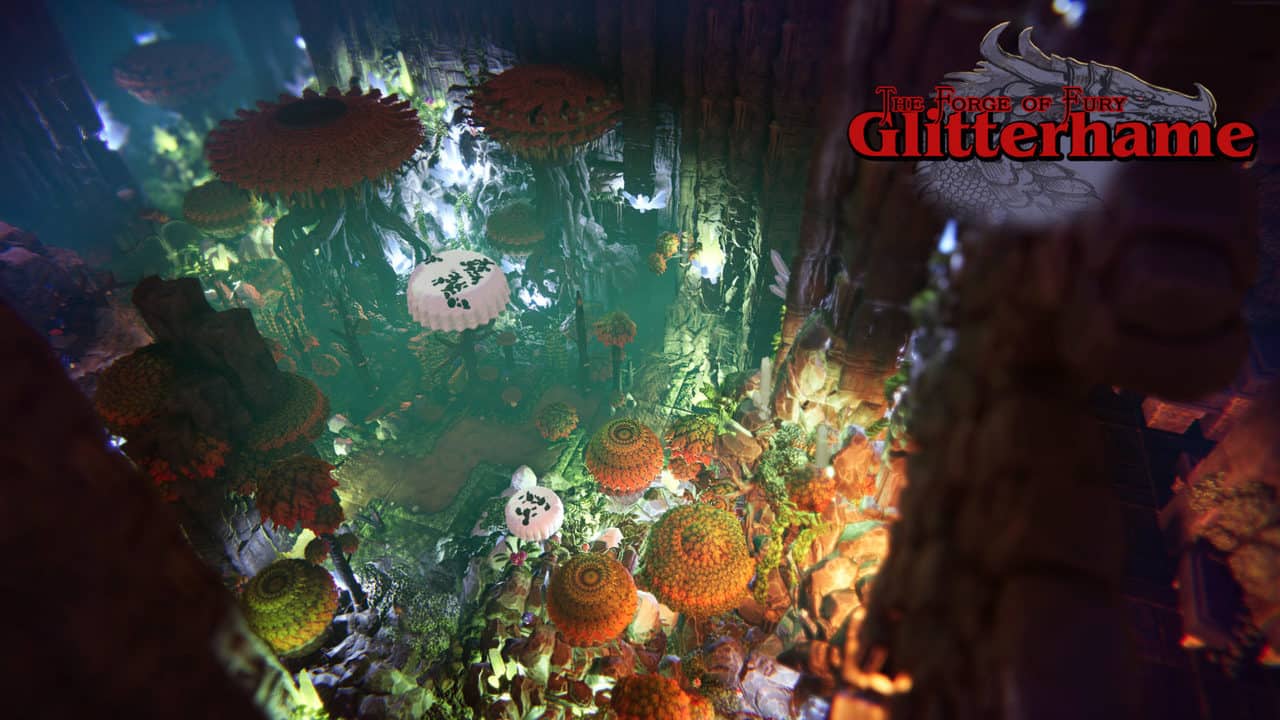
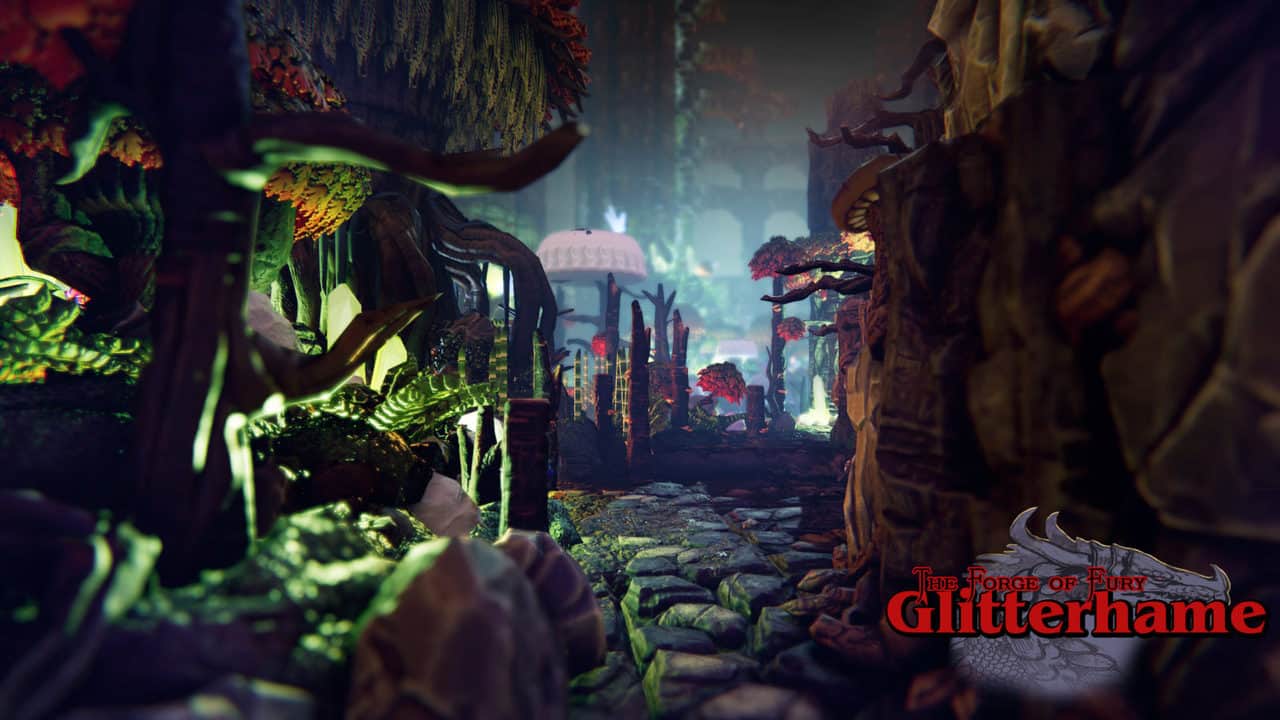
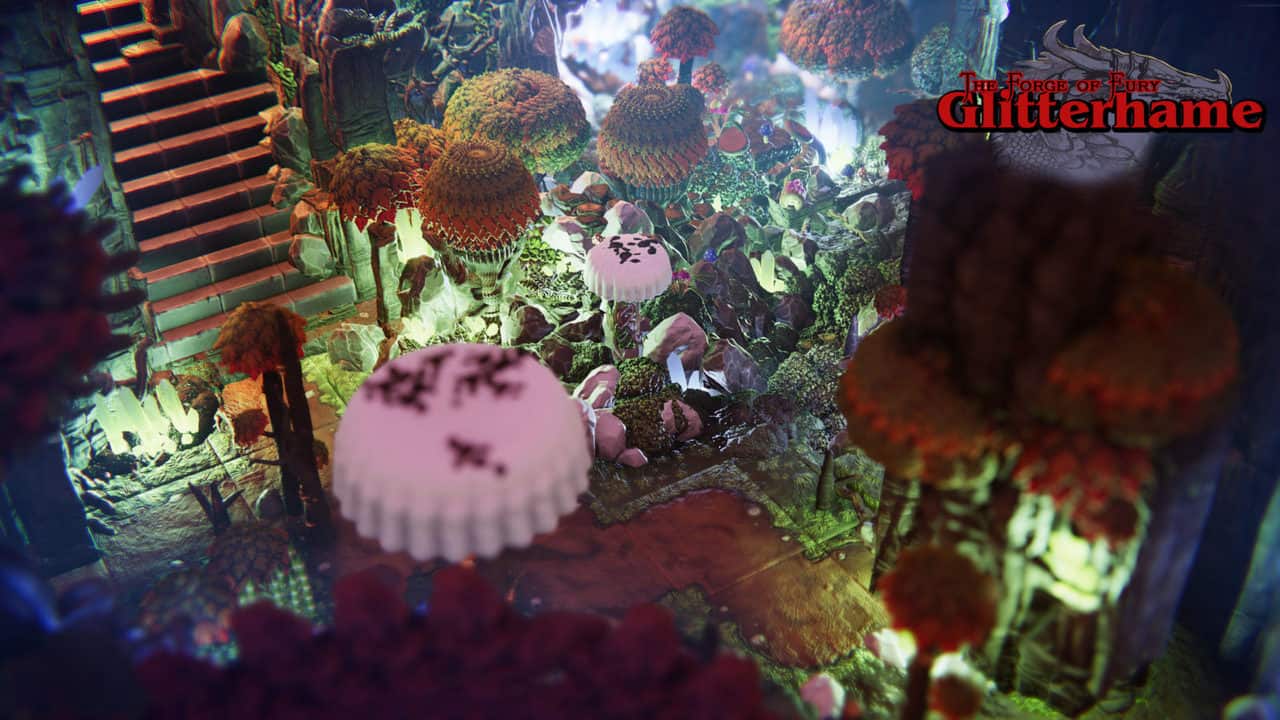
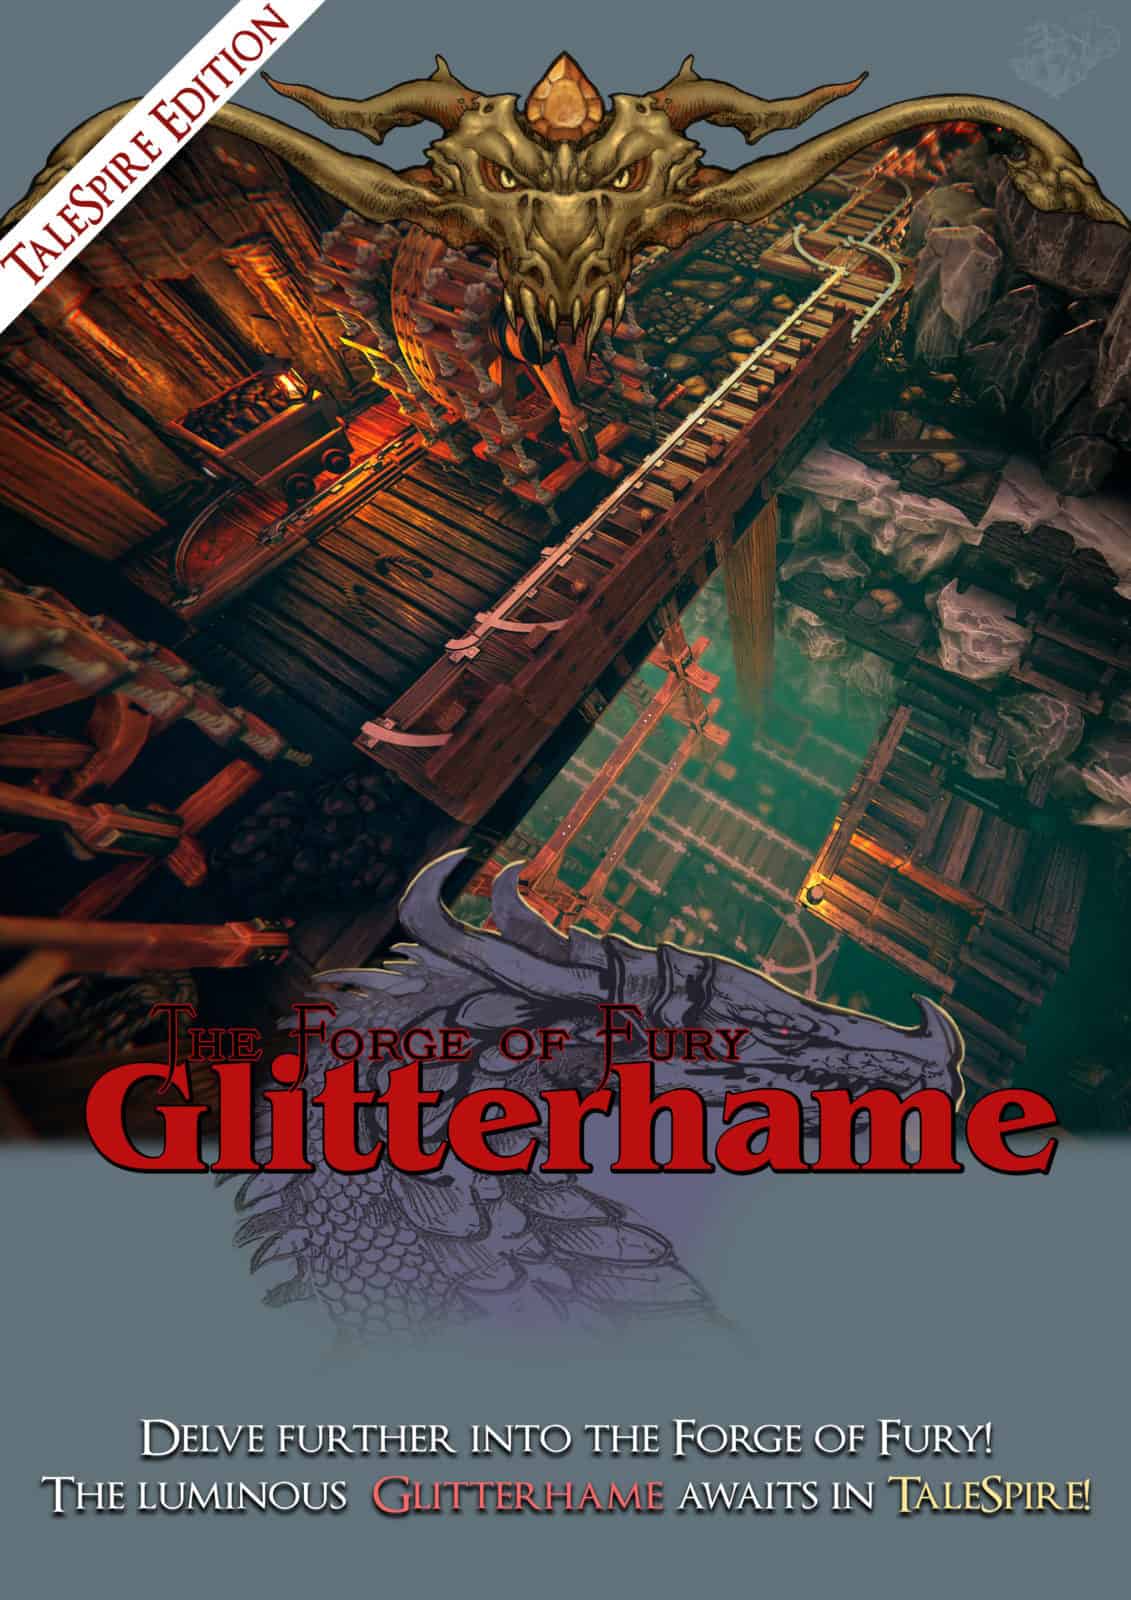
The Book Includes
Visit the product page at DMsGuild to Pay What You Want for a full PDF containing alternate room descriptions, assembly instructions and other board information.
This book enhances the original Forge of Fury (3rd edition available at DMsGuild, 5th edition available at DnDBeyond.com), which you will still need.
- 5 revised room descriptions which accurately reflect rooms visible to players.
- One entirely new room description for the 500 ft. ancient orc siege tunnel!
- Details about the challenges of converting 2D maps to 3D.
- Slab assembly instructions and advice.
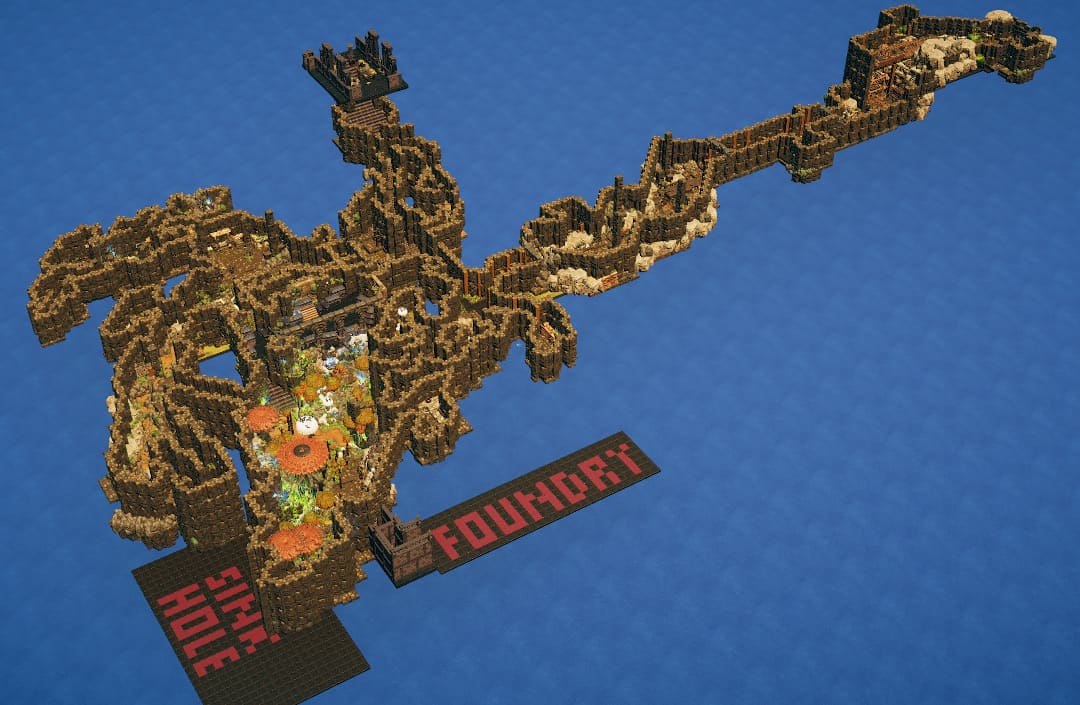
Assembling the Glitterhame
To complete the board, assemble:
- Glitterhame - Main as the base slab.
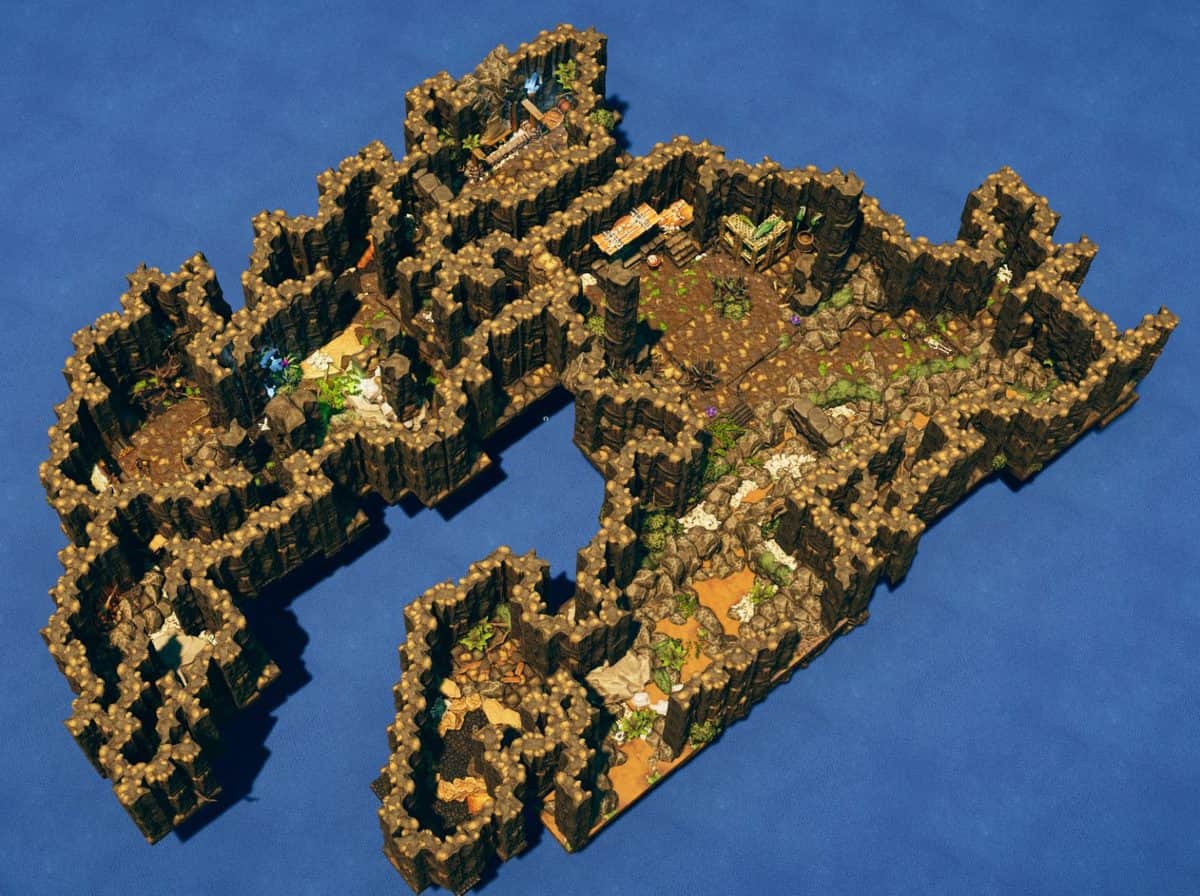
- Glitterhame - Warrens — paste on the B marker.
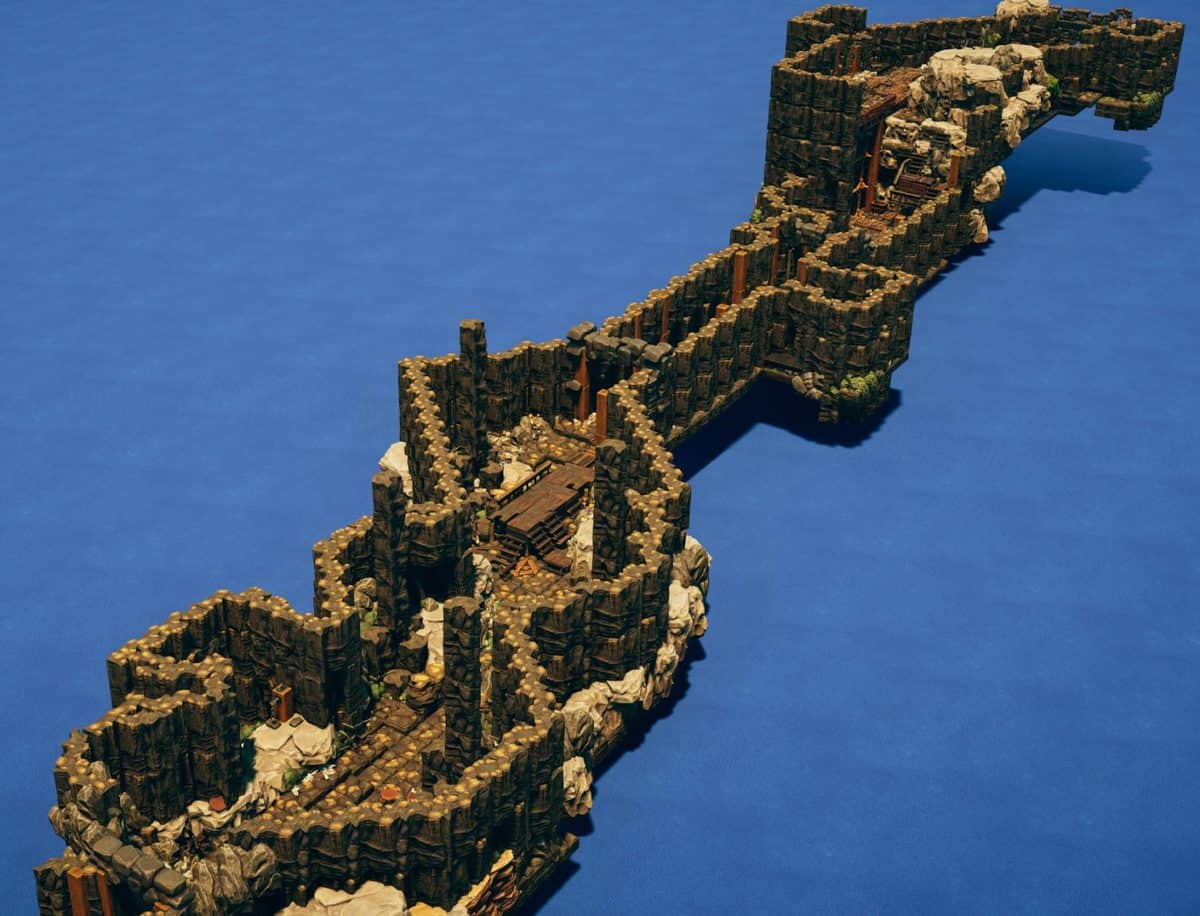
- Glitterhame - Tunnel — paste on the A marker.
Connecting the Sinkhole
To combine this board with the Sinkhole slab:
- Copy the Sinkhole slab to your clipboard.
- Open the Glitterhame board and set your build plane to the top of the "sinkhole" area underneath the waterfall.
- Paste and position the Sinkhole slab. Align the red tiles on its northwest side (the circular stairwell) with the circular part of the downward stairs.
- Change the height of the Sinkhole if needed.
- Click to place the slab.
Credits and Support
Cover art by Istallri Astra.
If you enjoyed the map, please consider becoming a patron so I can continue to provide high quality maps for the community!
Explore the Forge of Fury collection on TalesTavern for the other slabs.